bernieke's projects - domotica
last update in subtext
When we bought our house I started looking at the available domotica options on the market.
And the one thing they all had in common at the time was their non-interoperability.
So I decided to design my own system, so as not to be restricted in what I could connect and control, now and in the future.
I picked CAT6 as my carrier cable as it's cheap, has eight wires, and plenty of connector and patching options.
The electrician put in 2km(!) of it throughout the house.
I went with a star layout because it offers the most options in how to wire and control it all.
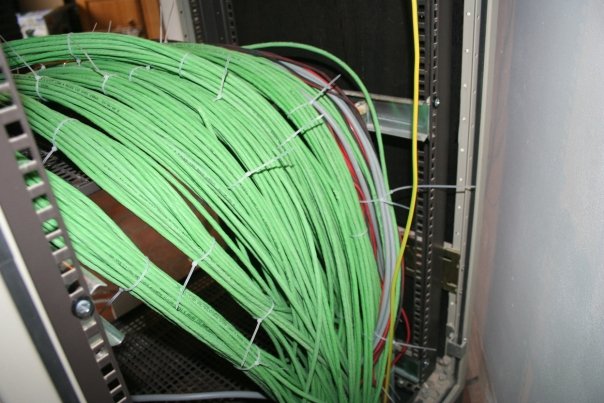
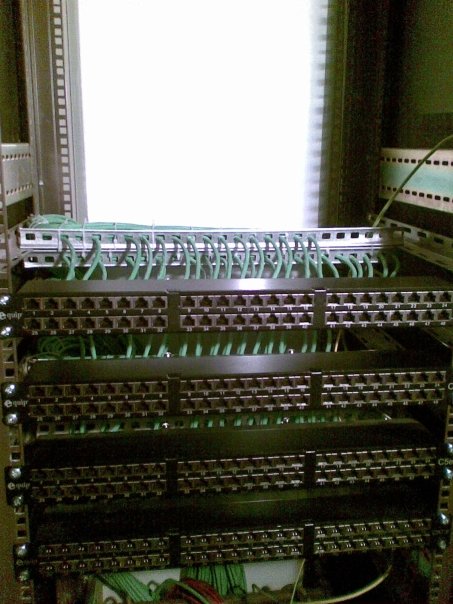
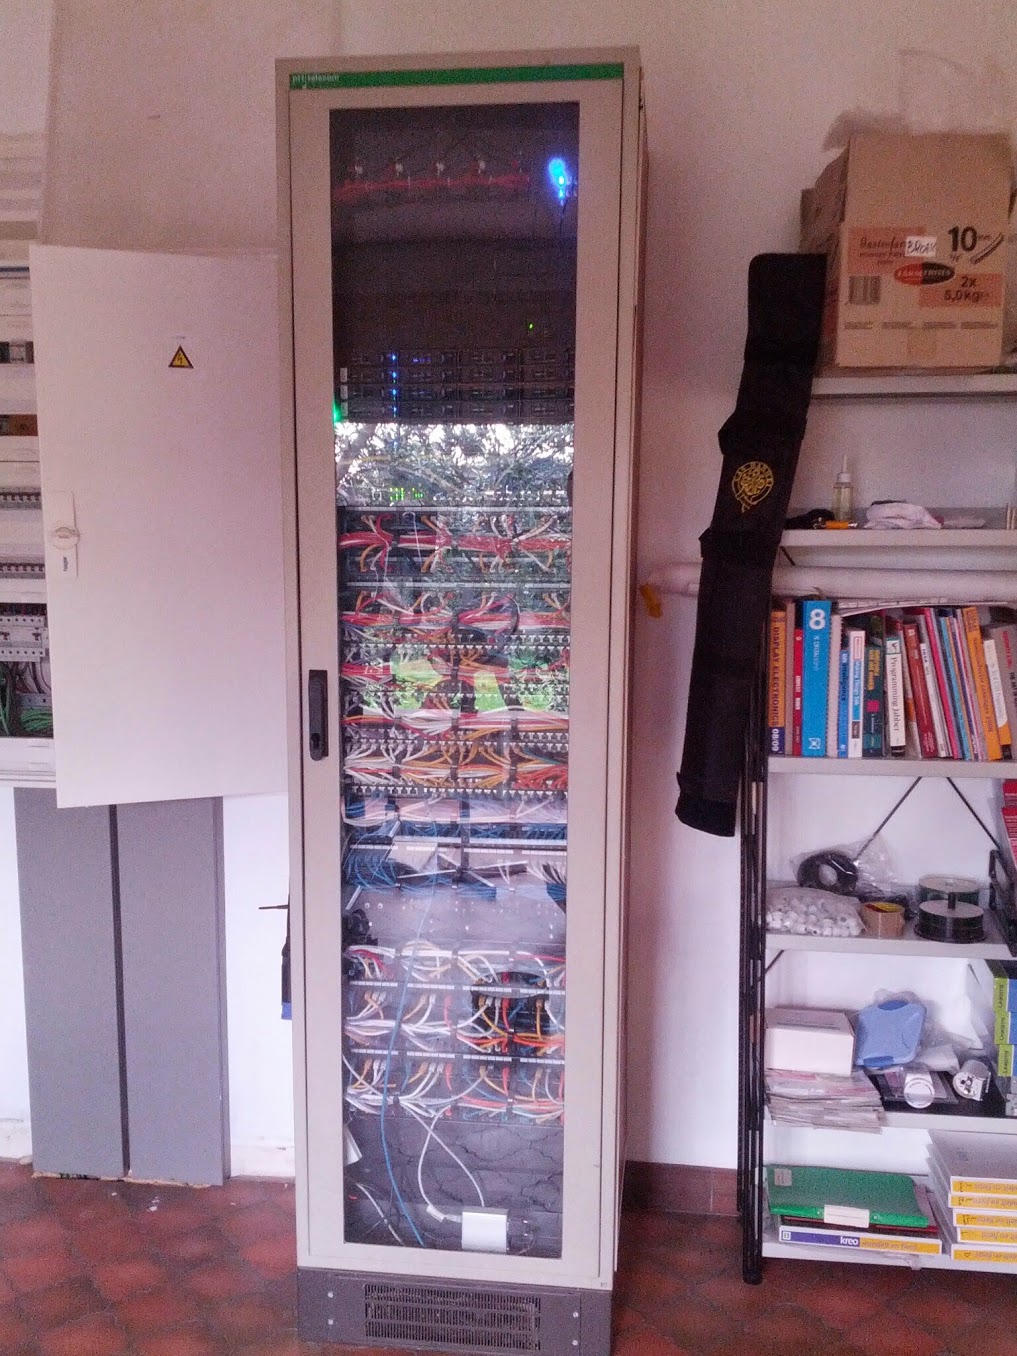
164 CAT6 cables (142 for the domotica, 22 for network) are terminated at four 48 port patch panels in a second hand (old telco) 19" rack in my home office.

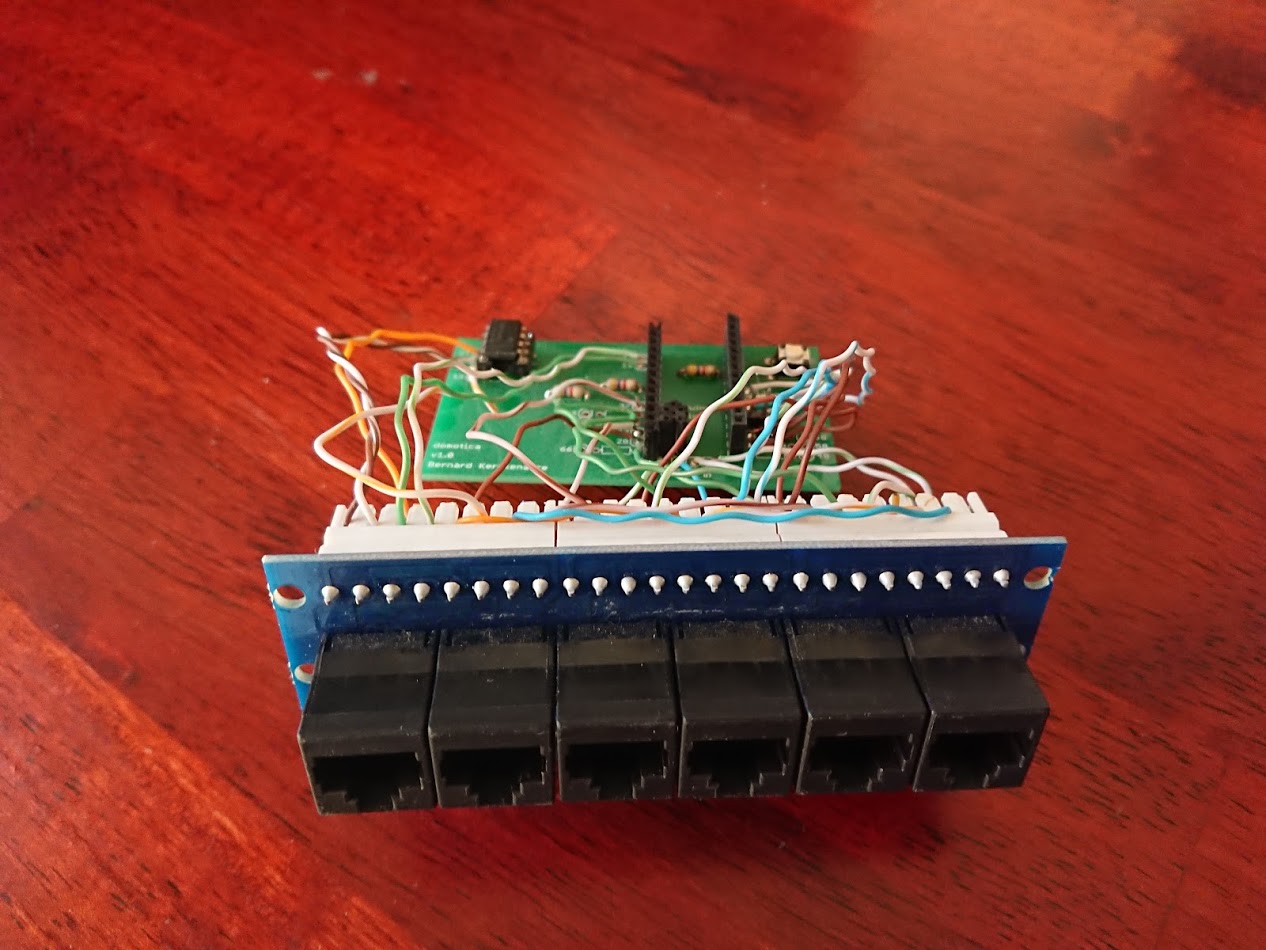
From there they are patched through to eight 24 port patch panels, each of which houses four domotica modules which are connected to six ports each.
The first port on each module is used for the rs485 bus which the modules use to communicate with the master (an embedded linux device), the other five can be hooked up to a number of combinations of sensors and actors.
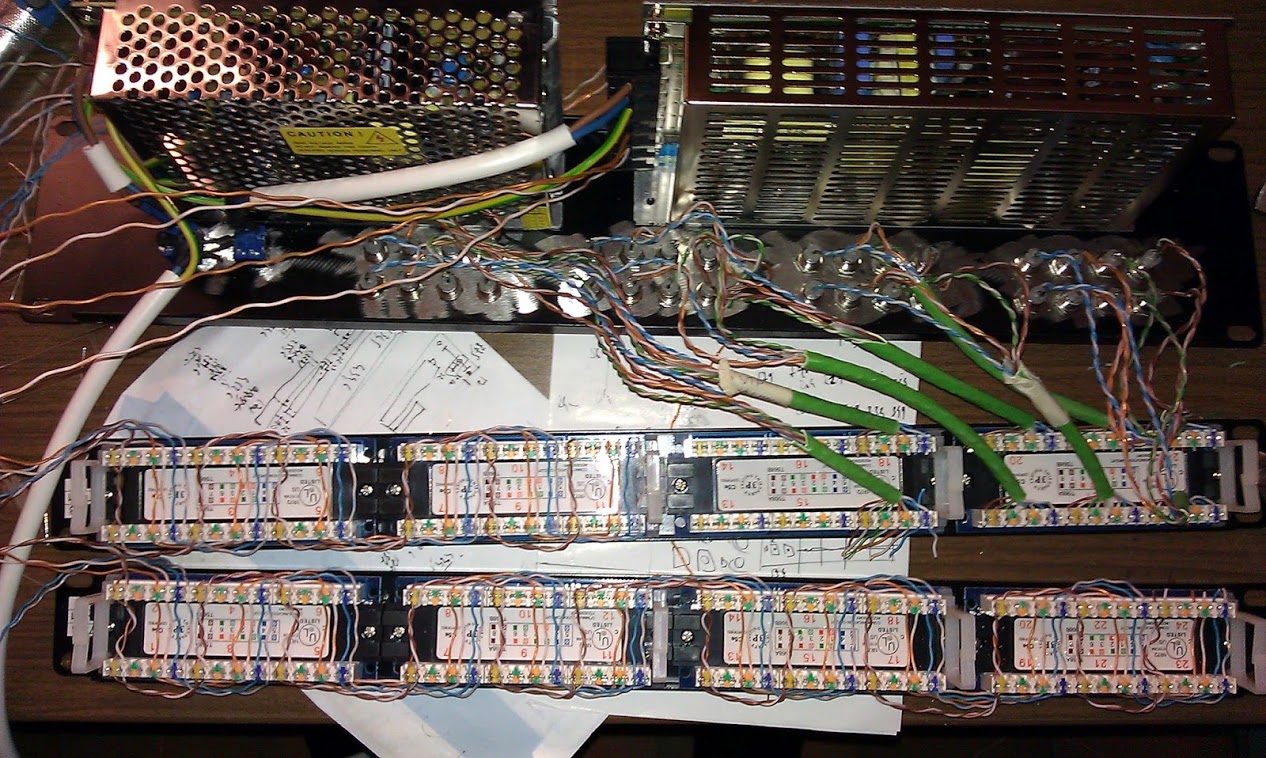

The bus cables are patched to two extra 24 port patch panels which are wired up to a 2u panel with 32 leds and a five and twelve volt power supply.
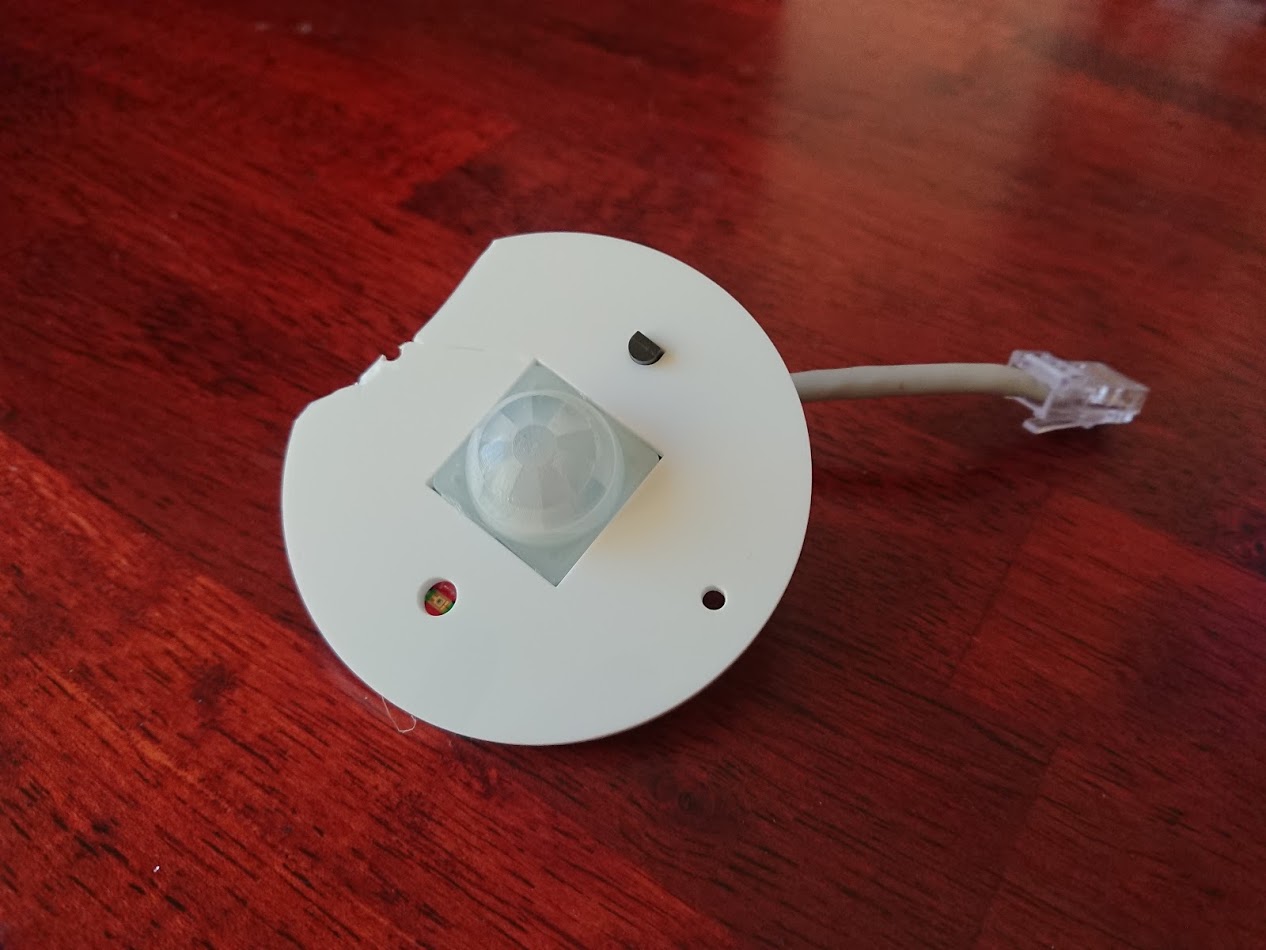
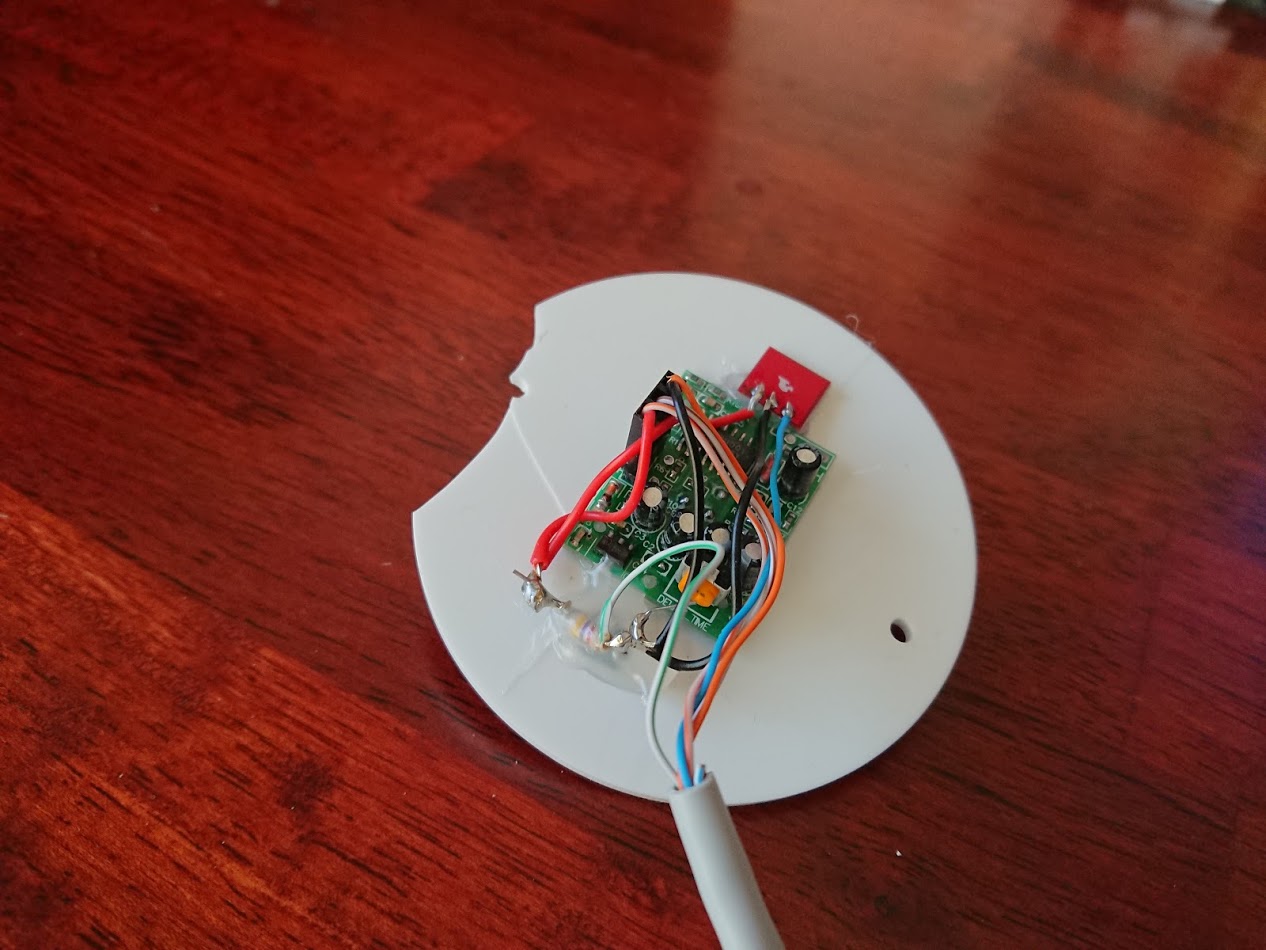
Throughout the house there are 31 sensor combinations which measure light, temperature and detect movement.
In the hallways, stair cases, basement and toilet the lights are controlled by movement.

The modules I designed around the arduino mini 04.
These communicate over rs485 with the master using a token based protocol.
They get input from the 31 sensor combinations, 28 two button wall switches and 8 thermostats.
And they give output to 29 lights, 3 dimmers, 17 switchable power sockets, 8 thermostats, 6 blinds, 2 doors (with smart lock electrolocks), and the garagedoor.
I also still need to connect an electrovalve to fill the bath tub along with an ultra sonic range finder to detect whether the bath tub is full, and add a few sensors for the utilities and washer/dryer.

The existing radiators I connected to the domotica system by using cheap HoneyWell HR20 thermostats, which I hooked up through their serial debug ports.


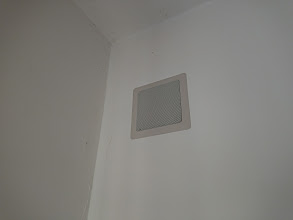
In the kitchen I installed a second hand 23" touch screen, on which I can display the domotica UI, my recipes website, and control the music in the rooms.

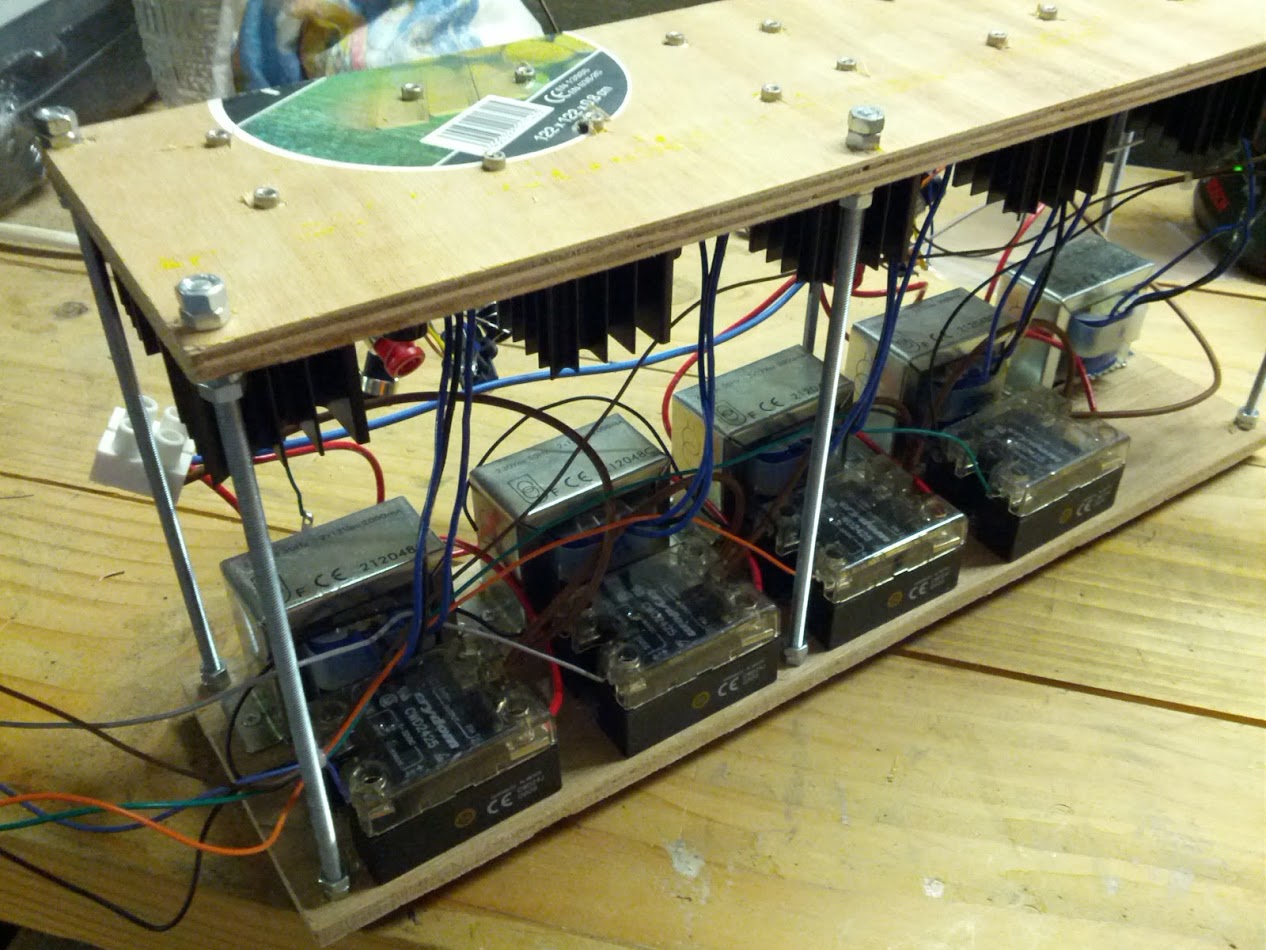
During the remodeling I had speakers put in all rooms (10 in total), for which I built five stereo amplifier modules, connected to an old media server with two sound cards.

The sound server shares its case with my VM server.


The amplifier modules are switched on by solid state relays, which are switched by the parallel port on the sound server.
This gives us the ability to have separate music streams in each room. (Or the same streams in any combination of rooms.) As well as intercom capability. (Mainly used for the doorbell.)
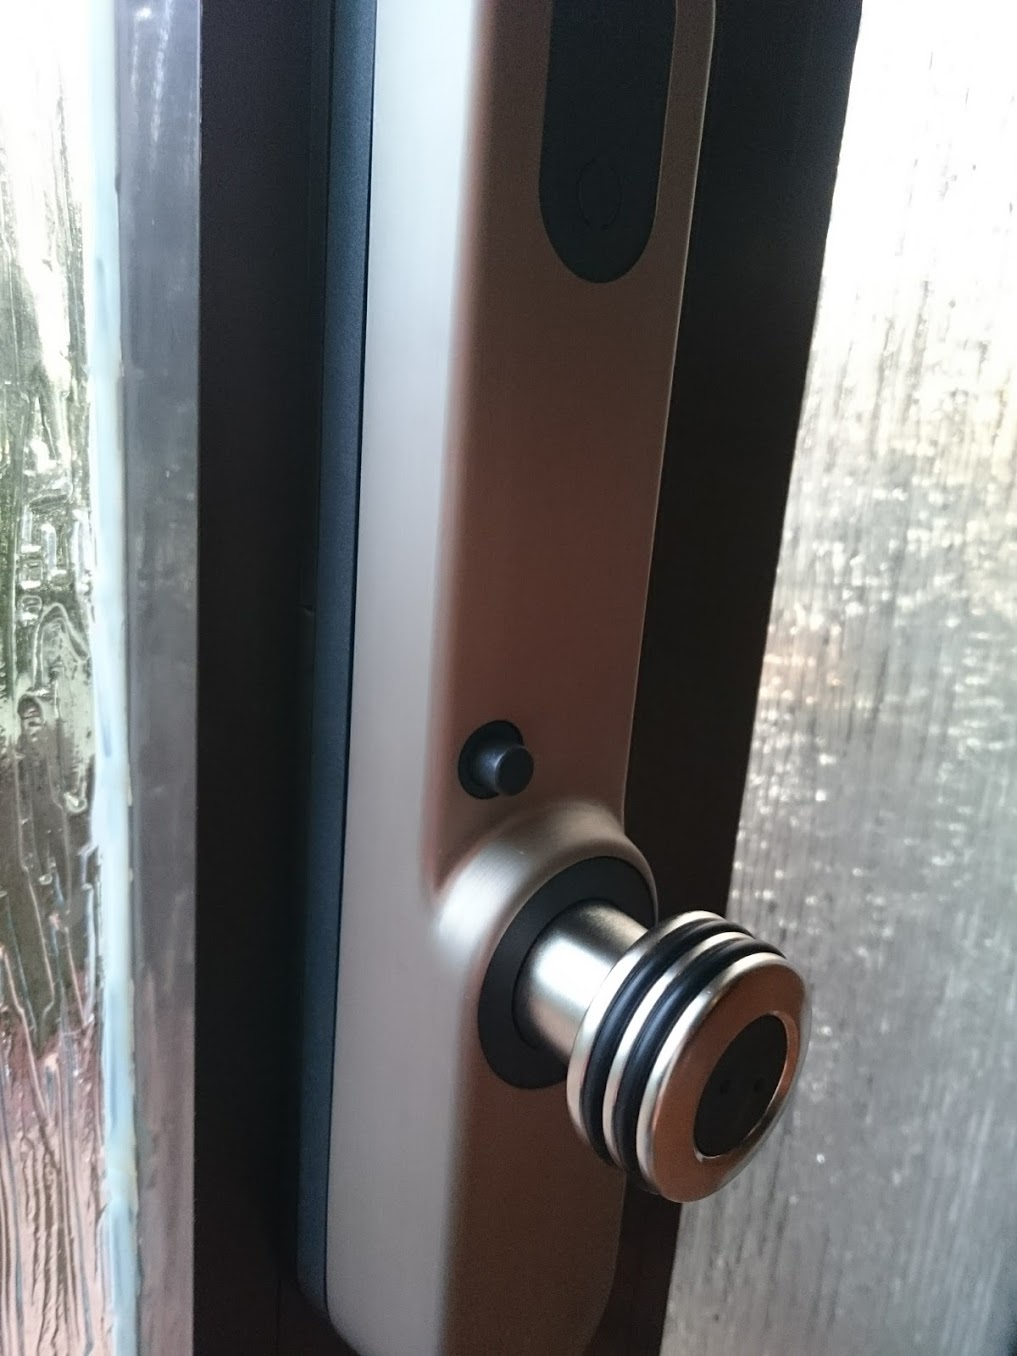
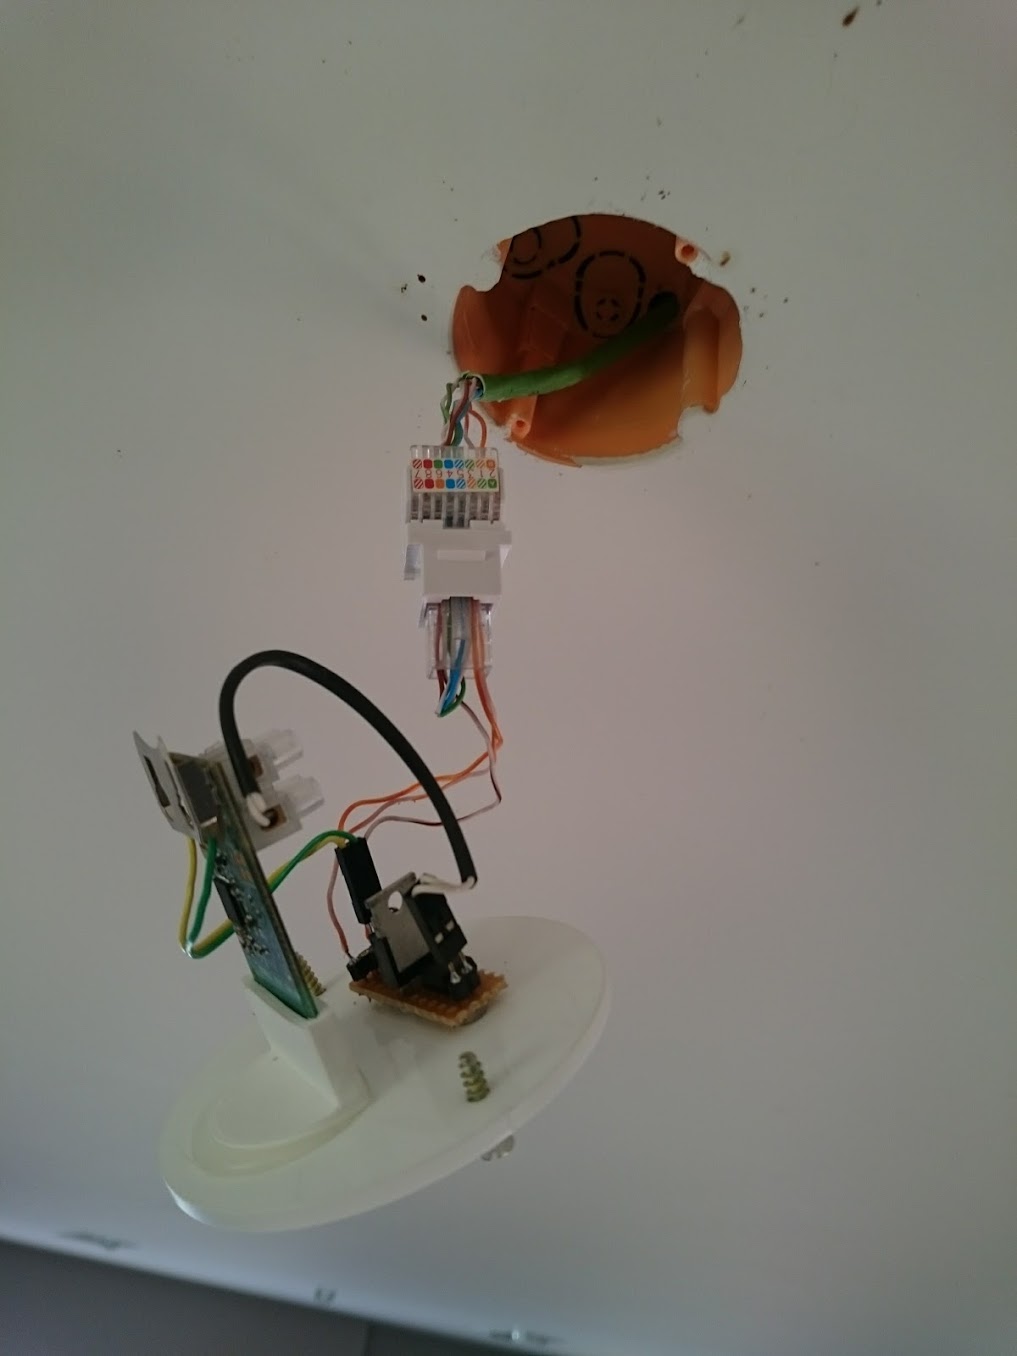
The doors are equipped with smart locks from Invited. I put remote controls for these in the ceiling as well, so I can open/lock the doors through the domotica.
The television in our living room is solely connected to a small htpc (a xtreamer ultra 2 from Xtreamer) which sends its sound over a fiber optic (toslink) cable to the avr amplifier in the rack.
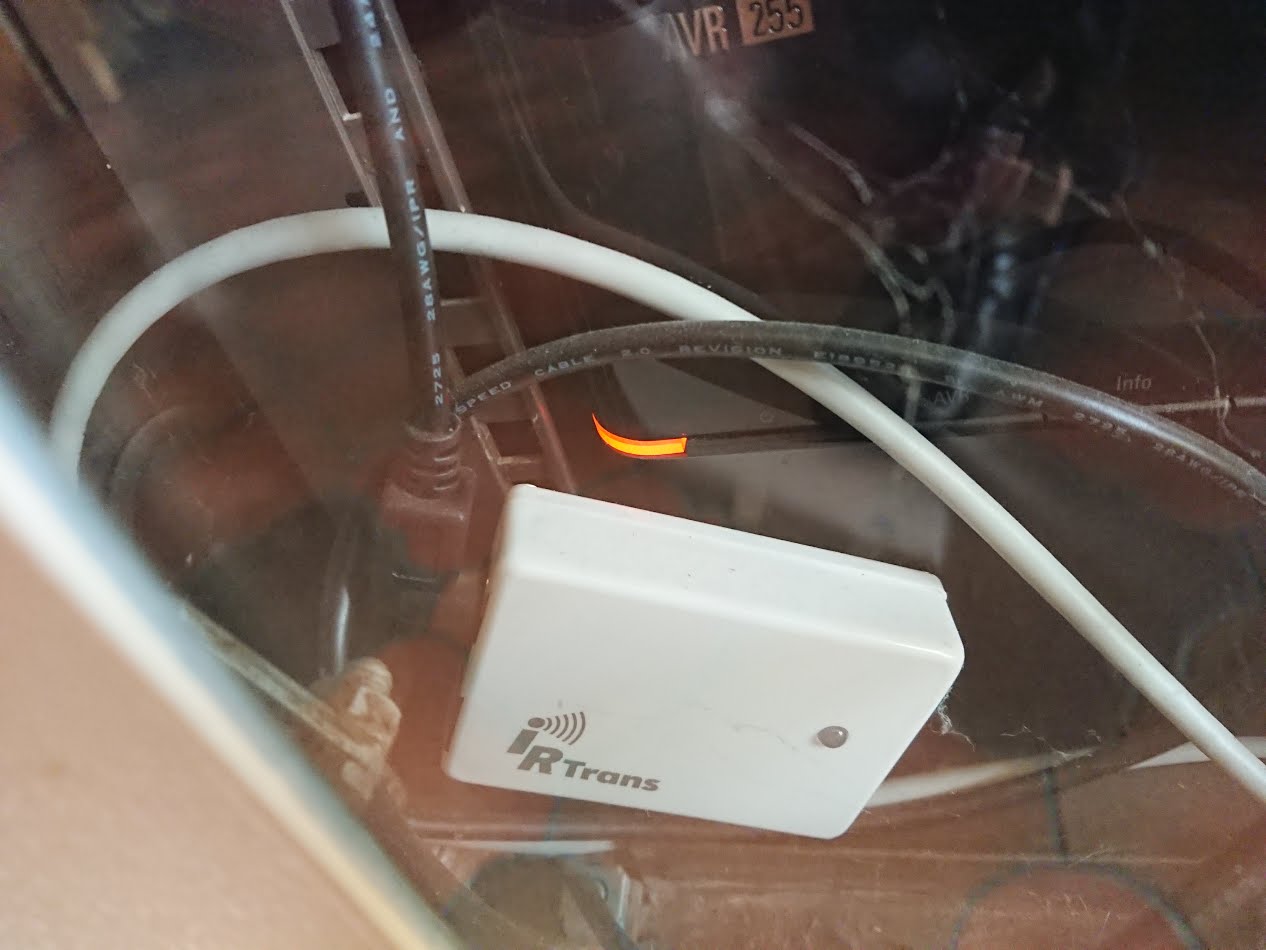
The whole setup is controlled through a single streamzap remote controller, which sends its signal to an IRTrans Ethernet Module (http://www.irtrans.de.) The signal for this is translated by a process running on the domotica master, which sends the necessary signal onwards to either an IRTrans USB Module for the avr receiver, or to a lirc process on the htpc.
UPDATE 2019/3/30: The Xtreamer has given up the ghost after seven years of faithful service, and has now been replaced with an OSMC Vero 4k. This comes with a radio remote, so I did away with the streamzap and the IRTrans in the living room (the one in the office is still used to control the avr receiver). And have replaced its functionality with on the one hand the OSMC CEC capability, allowing me to control the television from within kodi over the hdmi cable. And on the other hand a few Kodi remote button mappings to control the avr receiver volume through the other IRTrans module.

UPDATE 2020/8/4: I finally got around to hooking up the garagedoor to the domotica system. There happened to be just enough space in the bottom of the button box to add one of those 2$ double optocoupled relay boards. (Well, after removing some plastic to make room for the IC, and relocating the headers to the bottom of the board.)
I've also added the entry about the screen in the kitchen, halfway this page.


UPDATE 2021/2/27: We installed solar panels last year.
And in a few years we'll all be getting digital electricity meters which will bring capacity tariff and independent import/export metering
Which means we'll probably need batteries to optimise our utility costs.
In order to calculate our optimal battery requirements I had to get a good picture of our solar production and electritiy import and export.
So I finally made work of something to monitor our electrity meter counters.
I put a raspberry pi with a rpi camera in front of the counters.
I added a (+5) lens of an old pair of my wife's glasses in front of the camera, reducing the focus distance from about 1m to about 15cm.
I configured it to take a picture every 15 minutes (the same granularity our solar inverter logs its production with).
It then cuts out the individual digits, brightens, thresholds and inverts them.
These are then run through a custom tensorflow model for analysis. My first attempt with tesseract failed due to the special font and the rotating digits often causing parts of two digits to be visible. OpenCV didn't work out either, causing lots of both positive and negative mismatches. But my tensorflow model gives me 99.5% accuracy!
This data is then stored in postgres. Combined with the solar production data which I pull in daily, this allows me to generate some informative charts.


I upgraded the domotica master to a raspberry pi with a rs485 hat and a UPS hat. I can now run the more compute heavy part of the domotica system on the master itself instead of on a VM on the NAS. And the UPS hat means that in case of a power failure the domotica immmediately starts working again when the power comes back on. (It used to take about 10 minutes for everything to boot back up before.)
The AVR has been swapped with a new one capable of Dolby Atmos. It receives audio from the new television over a long hdmi cable through the eARC protocol instead of the toslink which was limited to DTS 5.1
The same hdmi cable now allows CEC control of the AVR, which works fine to power on/off the AVR along with the television, but volume control is wonky. So the last IRTrans module is still required for this.
created: 2013/03/09 last updated: 2021/02/27